


This blog post shows how to teach force and motion to special education students using adapted, interactive science lessons. With a sample plan, real classroom story, free resources, and a TpT product that makes setup easy, you’ll feel confident teaching this concept in your self-contained classroom.
Let’s Get Moving—Literally!
Have you ever seen your students light up when something actually moves during a science lesson? That’s what happened the first time we tried a simple force and motion activity. One student shouted, “Go!” every time the car rolled down the ramp. Another used her AAC device to say “again!”—and we happily did just that.
Teaching force and motion in a special ed classroom can be exciting and impactful. When students see that their push or pull causes something to happen, learning becomes real.

Why Force and Motion Hands-On Activities Matter in Special Ed
Force and motion are everywhere—opening doors, tossing a ball, pulling a chair. Teaching this concept helps students:
- Understand cause and effect
- Strengthen fine and gross motor skills
- Build language and AAC connections (go, stop, fast, slow)
- Develop curiosity and attention
When done with visuals, repetition, and hands-on practice, it’s a concept that sticks.
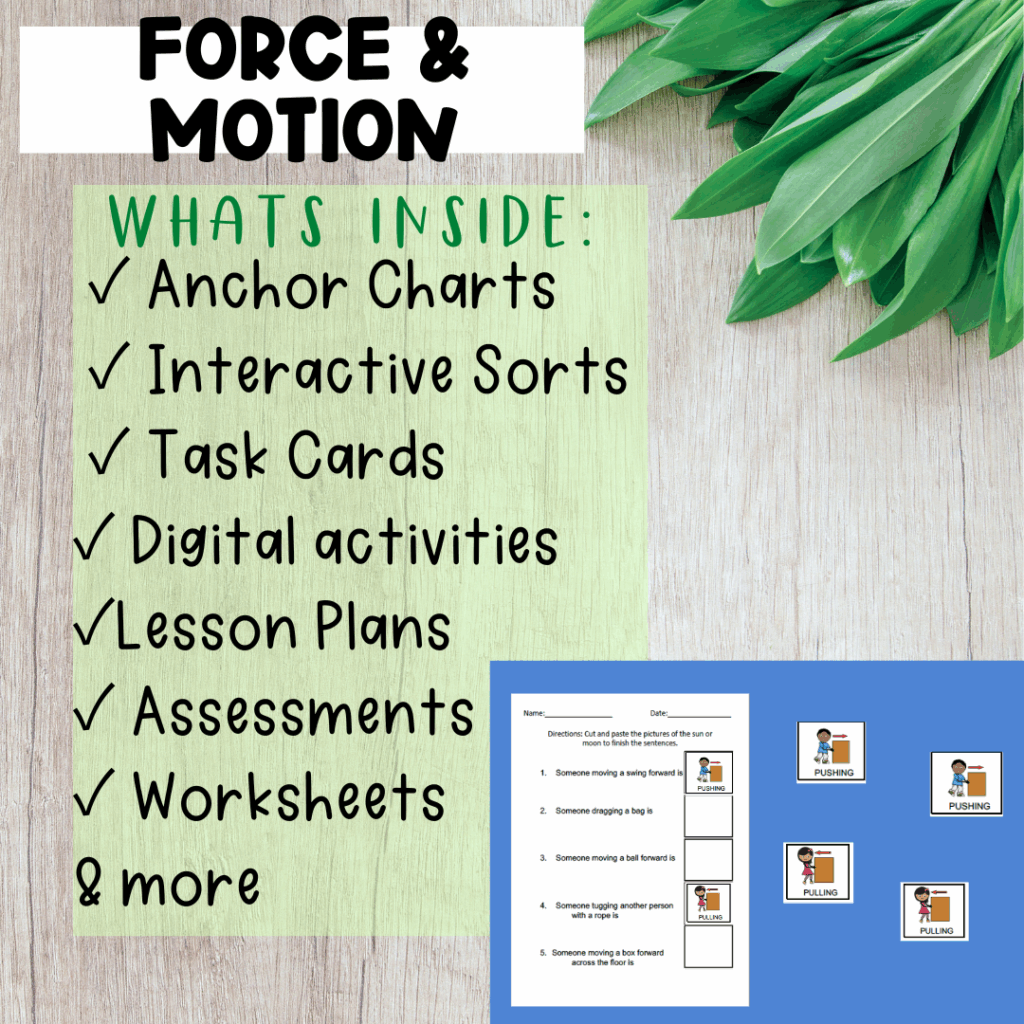
What’s Inside the Force & Motion Adapted Science Unit?
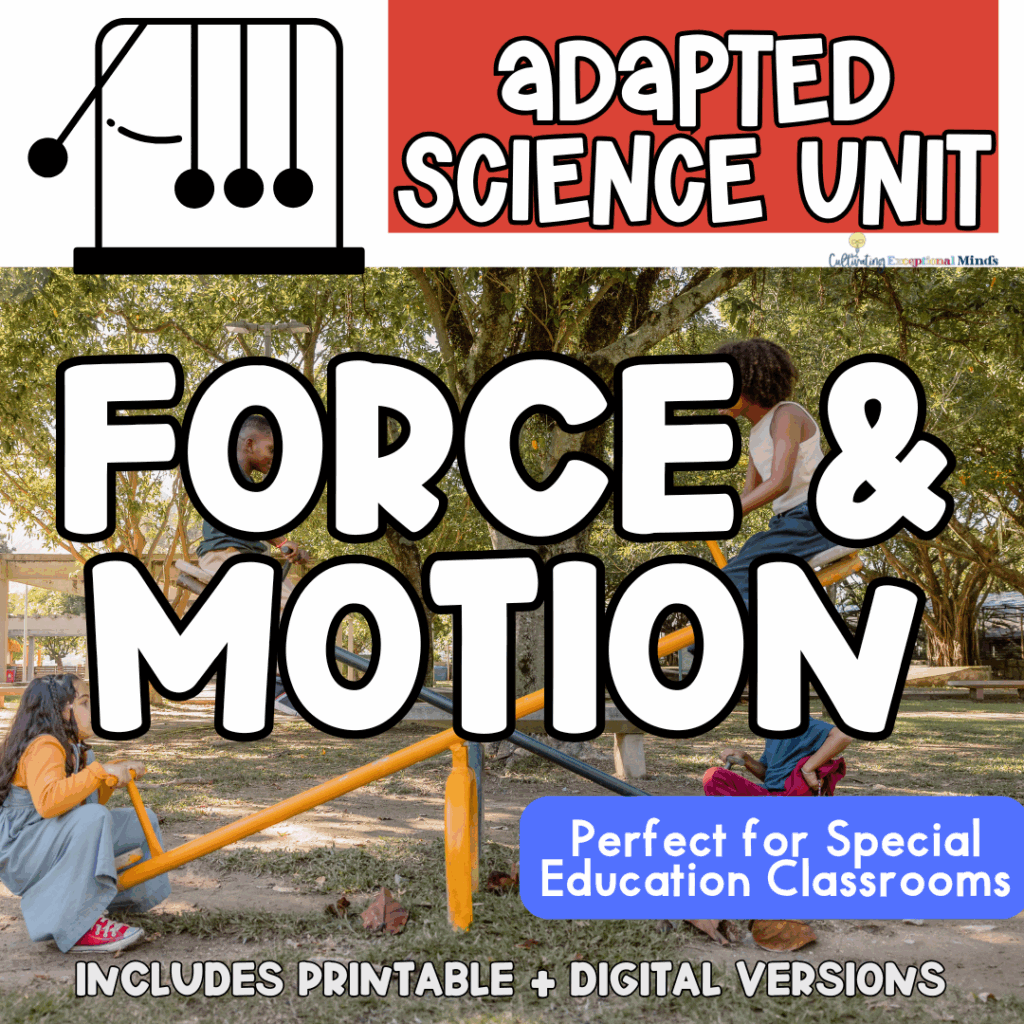
This ready-to-use resource includes:
- Visual anchor charts for core vocabulary (push, pull, slide, roll)
- Adapted books with simple text and images
- Worksheets and sorting activities
- Task cards and file folders
- Google Slides and interactive visuals
- Pre/post assessments to track progress
🛒 Grab the Force & Motion Unit Here
A Real-Life Story From My Classroom
One rainy day, we built a ramp from cardboard and tested different toy cars. Some students predicted which car would go fastest. Others simply watched the motion and smiled. Even students who struggle with attention were tuned in. One student, who rarely joins group work, clapped every time a car zoomed past. That’s when I knew: this lesson wasn’t just science—it was success.
How to Teach Force and Motion in a Week
Try this simple five-day structure:
Monday: Introduce the vocabulary with an anchor chart and the adapted book.
Tuesday: Do a hands-on push/pull sort using toys (cars, wagons, balls).
Wednesday: Set up ramps and test different objects. Predict and record!
Thursday: Work on task cards in centers or small groups.
Friday: Watch a short video and complete the pre/post assessment.
Tips for Success:
- Repeat vocabulary daily
- Use real objects as visuals
- Let students explore through movement
- Encourage AAC or verbal responses like “go,” “stop,” “fast,” “slow”
Don’t Miss These Freebies to Support Your Science Block!
🧠 Science Freebie Starter Kit – Get visuals and tools that work in real classrooms. Download it here.
🌱 Life Cycle of a Plant Freebie – Great for connecting how motion helps plants grow and spread seeds. Get it here.
What If My Students Can’t Do the Activities on Their Own?
That’s okay! Model everything first. Pair students up. Let them observe and take turns. Use switches, visuals, or communication boards. Participation doesn’t have to be perfect—it just needs to be meaningful.
What’s Your Favorite Way to Teach Movement?
Do you use ramps? Balls? Action songs? Share your go-to ideas or tag me @cultivatingexceptionalminds—I’d love to see your classroom in motion!
More Support for Teaching Science Concepts
📚 Read this blog for more help: How to Teach Science and Social Studies in Special Ed
📦 Want more like this? Get the full Adapted Science Units Bundle for yearlong science instruction. See the Bundle
✨ Want support every month? Join The Exceptional Collective for coaching, themed content, and templates that make your life easier.
Let Science Move Your Classroom Forward
If you’re ready to make science engaging and easy, grab the Force and Motion Adapted Science Unit, check out the free resources, or join the membership for even more help.
Let’s teach science the way our students learn best—with movement, visuals, and joy.